
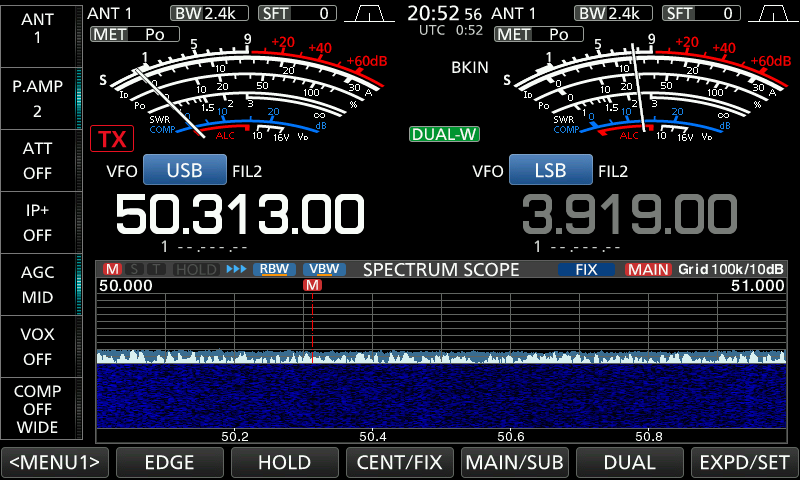
I plan to operate my IC-7610 (and other ICOM radios) remotely and there are several ways to do that including using Remote Desktop Software, or using the ICOM RS-BA1 Software (which uses a separate audio path). With remote desktop software, you could probably (I am not verifying this) use many of the other Rig Control programs out there like Ham Radio Deluxe and WIN4ICOM. This note is mainly about the audio link, but I will also get into the basics of setting up a station for remote use. I have another blog Notebook (HF Remote) that will get deeper into the details of remote operating.
To get started, I want to get the audio from my 7610 playing on the directly-connected PC. Once I have that, I can use any Remote Desktop solution with it’s built-in audio forwarding. Recently, many Hams have been using Anydesk for basic Remote Desktops. My limited experience with Anydesk was good. I am now using NOMACHINE as the link to tie together my many computers, at two locations. That is what I will be using in this simple remote audio setup.
For Rig Control purposes, I also plan to use the ICOM software. on the connected PC. That will allow me to popup the 7610 virtual front panel, for things like changing the frequency or selecting and tuning an antenna. You could use another package if you want to avoid the ICOM software. Despite the reputation as being very difficult to setup, it is extremely easy to install the RS-BA1 V2 software for use only of a direct-USB-connected transceiver.
A description along with some screen shots, is provded below. I will refer to the location where the radio resides as the “station” or the “local station.” The location where I sit during remote operation will be referred to as the “remote location” or the “client” (for software that has a client-server architecture).
Approaches to Remote Operation
Remote stations can be used in a variety of scenarios including casual out-ot-the room operation (like operation from the easy chair in another part of the house), operation from a separate QTH, and contest operation using one or multiple operators from one or multiple locations. All of these are in regular use today, with great success. Getting started in remote operation is NOT difficult. Everybody that talks about it seems to get swallowed-up by complexity and difficulty of the more advanced approaches. I think that scares people away from very useful and flexible remote rig operations.
For “serious” contesting use, the link latency and jitter are of huge concern. In a contest, fractions of a second (over 1000 QSOs) matter if you want to be competitive. At 30+ WPM, CW contesting can be very difficult if the Internet link is not fast and stable. For this basic setup, this is being completely ignored. With today’s Internet connections (I am using STARLINK with 100 Mbps++ rates and latency in the 20-30 mS range), I do not expect the latency to be a major issue for casual remote operation.
Setting up the Radio and PC
I have seen several articles discussing the setup of the 7610 for a basic remote audio connection. One of them can be found here. My requirement is to be able to operate CW, SSB, RTTY, and the WSJT-X digital modes. This requires a 2-way audio path from the radio to my remote client PC. NOMACHINE (and other remote desktop software) provide a built-in 2-way audio link, so I am going to use that. This makes the task simple – just get the audio to/from your PC setup to interface to the radio. Then, when you connect remotely, you can simply route that audio stream across the link.
My suggestion is to first get the remote desktop software working between the two computers, and get basic audio working, like listening to YOUTUBE which is running on the local PC, at the remote PC end.
Next, install the Rig-control software that you are using on the local PC, connected to the radio via USB. One very easy way to do this is to use N1MM+ contest logging software. N1MM+ is very easy to configure to connect to any radio. When you popup the Bandmap window and change frequencies on the radio, you can easily see that it is talking to the radio.
Setup the PC for Rig Audio
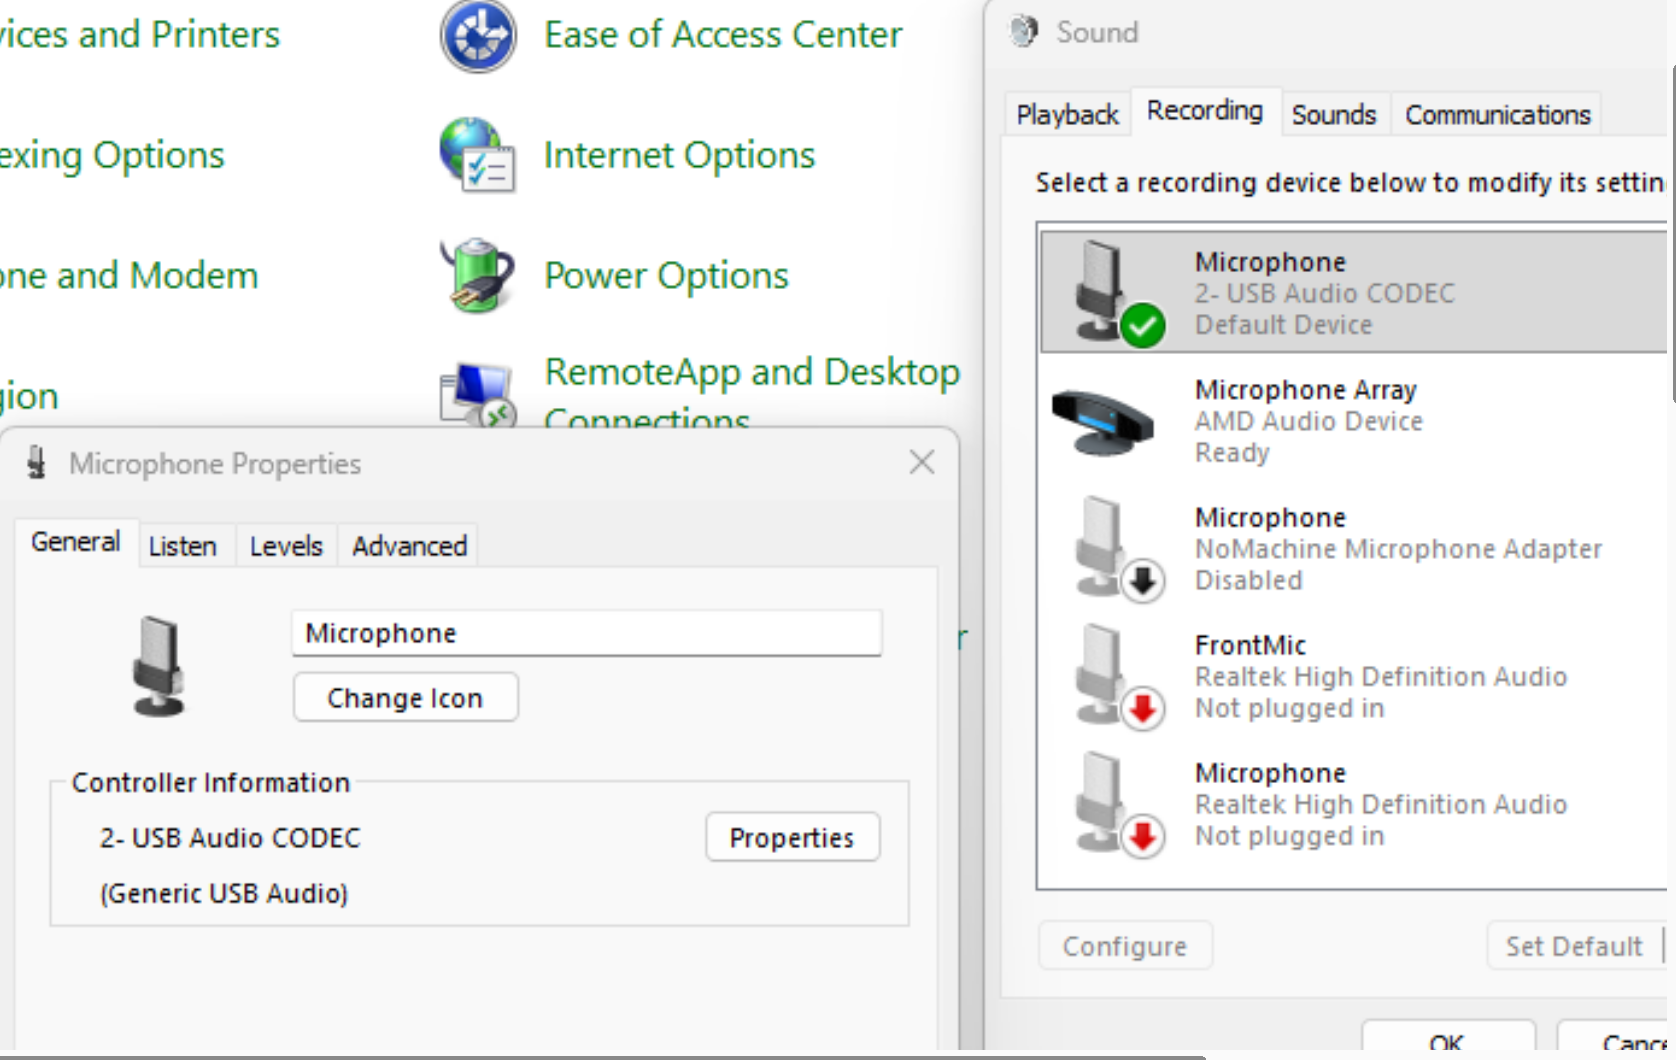
Once the 7610 USB drivers are installed (found on the ICOM website with directions), you need to assign your SOUND Input device to the radio USB. This device will be named something like USB Audio CODEC. There is one other thing that MUST be done on the PC. You must go to PROPERTIES for this Input Device, and select “Listen to this device.” This routes the audio that the PC receives from the radio USB port, through the PC mic input and to the output device which is probably your speakers.
7610 Rig settings for Audio Routing
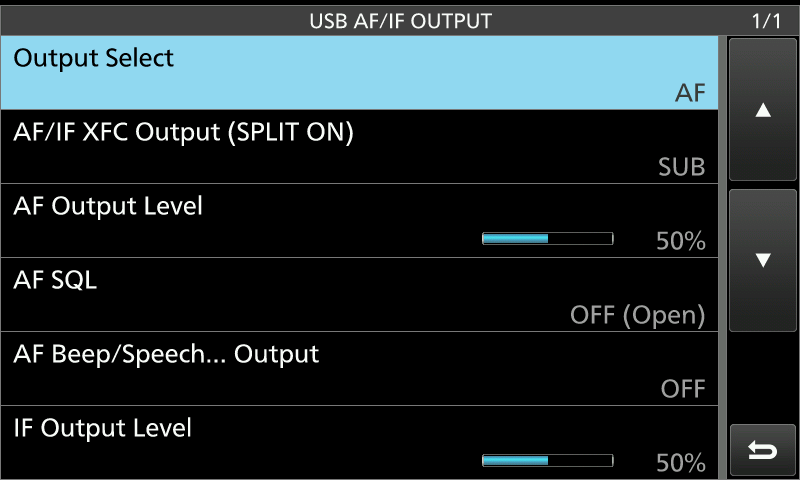
Once the local PC is setup to accept the rig audio, you just need to make sure that the rig Settings provide rig audio (“AF”) on the USB interface to the PC. Fortunately, the 7610 is designed to do this, with only one Setting needing to be addressed.
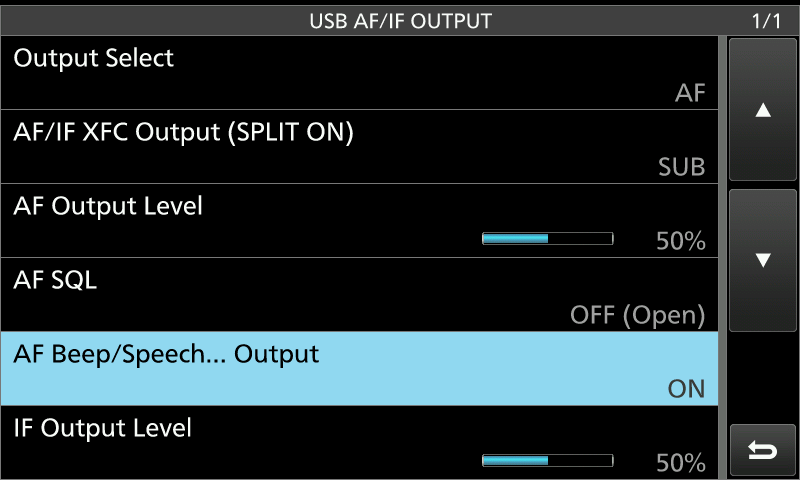
I also want to insert the CW sidetone into this audio stream. This is another thing that the 7610 can do by changing just one setting. This is NOT difficult!
Rig Audio over Remote Desktop
If you have everything setup as described above, you should be able to power-on the rig and hear the audio from your radio, and CW sidetone, on your PC speakers. If you now connect from another PC, this audio will be automatically forwarded over the remote desktop connection. I did have to mess with the volume levels of the various PC devices to get an adequate volume level at the remote end.


Leave a Reply